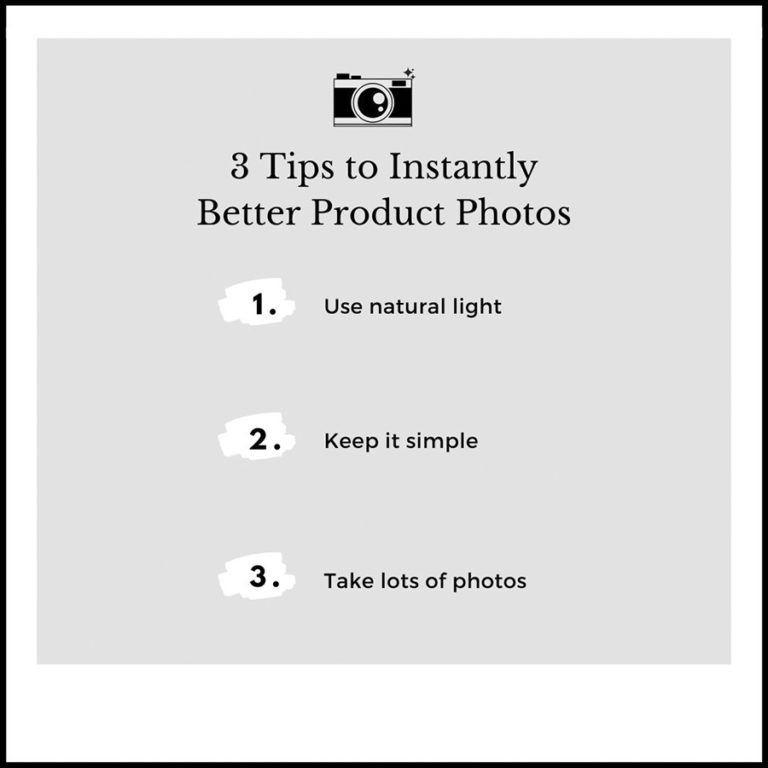
Photos of your product may be your customer’s first and only impression of you and your work. Your photos may be the reason they choose to make a purchase or not. This is one of the major reasons why quality product photos are so important in the digital world we’re in today. While you may not be in the position to invest in professional product photography yet, I’ve got three easy tips that can help you to improve your DIY product photos right now even if you have zero photography experience.
1. Use Natural Light

My first, and most important, tip is to use natural light. What is natural light? It is light from the sun. Unless you’re well versed in using them, artificial lights like on camera flash, strobes, or your home lights and lamps, tend to cause harsh shadows, unwanted glare, or unwanted color casts.
When using natural light, be aware, that not all sunlight is created equal. Product photos taken in full sun, which creates “hard light,” compared to product photos taken on an overcast/cloudy day will look very different, thereby communicating different moods and ambiance.
Overcast and indirect sunlight, which creates “soft light,” is most flattering. This is especially important to consider if the product will be shot with a person using it, wearing it, holding it, etc. This type of light creates a soft glow that’s super flattering for photographing people, not just products.
If you want to take photos and it’s a sunny day, you can simply take your products to a shaded area, away from direct sunlight. Another way to do this is to head indoors and use natural window light. If you are shooting indoors, I highly recommend using a tripod to make sure your indoor product photos don’t come out blurry.
When you’re DIYing and have minimal lighting knowledge, natural window light is your best bet for taking product photos. If you’re interested in learning more diy tips for your business, be sure to sign up for my newsletter at the end of this post to get the scoop.
2. Keep It Simple
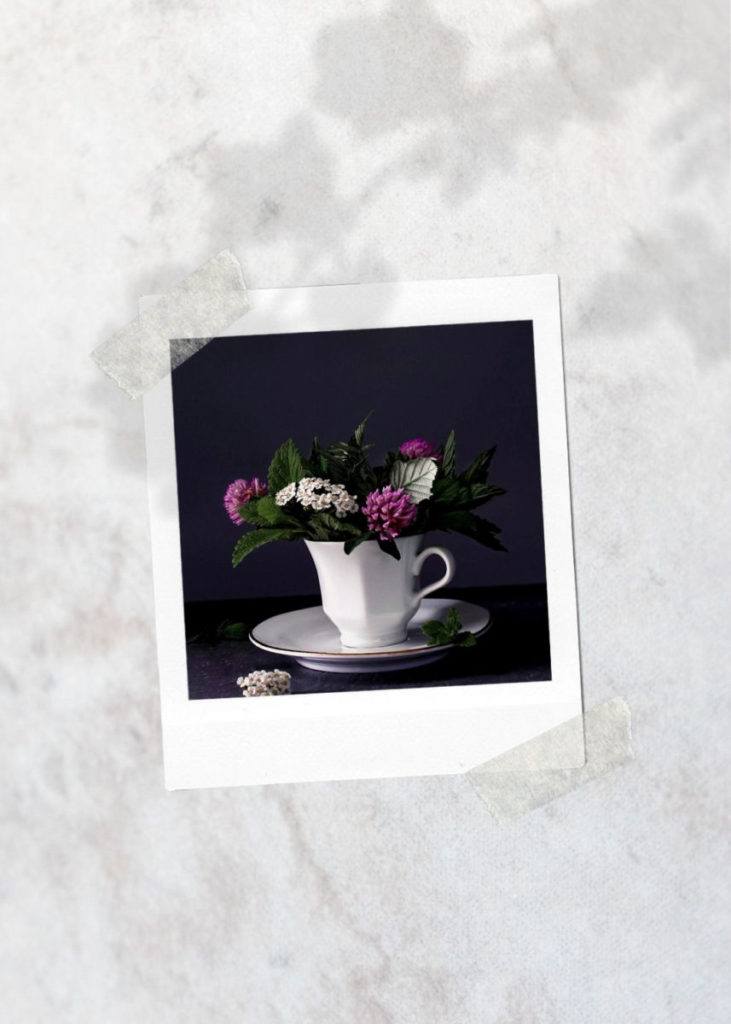
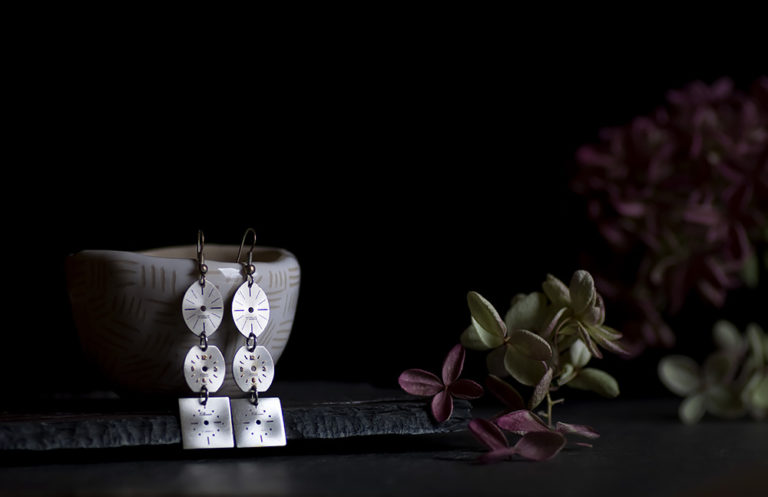
In product photography, your main focus or “hero” is the product. I speak from experience when I say it’s very easy to over style a product photo. Keep your background and props simple, if you’re using them, so as not to detract from the hero of your shot. One way to do this is to have a neat background, remove clutter and distracting elements. If you’re using a backdrop, stick to solid colors that complement your product and packaging. When in doubt, choose neutral backdrops such as white, beige, gray, or black.
For your props, if you decide to use them, keep it to just two items that create a story or make the product more relatable. For example, vintage stamps and a pretty pen would go well to complement a product photo of a set of note cards. When you’re DIYing, remember to keep it simple.
3. Shoot Lots of Photos
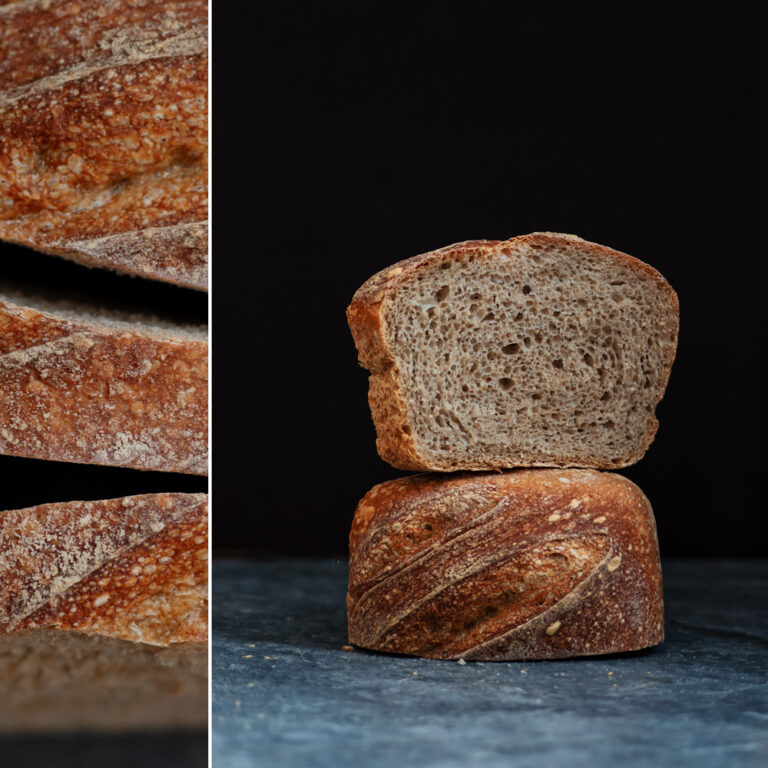
My last product photography tip to you is to take lots of photos for every product. This is one of the major benefits of digital photography. If the photo doesn’t work, simply delete it. No harm, no foul. Make sure to get in the habit of shooting a variety of images of your product at different angles: the front, back, sides, looking up, looking down, all of it. And don’t forget to capture up close details. People want to know what they’re buying, so show them.
If you’re photographing a garment, for example, capture it on a mannequin or on a hanger as well as laying flat on a neutral, solid surface. Other photos could show the product in use. In the case of a garment, take photos of someone wearing it, allowing you to take pictures of the product from all angles along with any notable details such as unique stitching, cute buttons or snazzy zippers.
Taking photos of your products can be stressful. Maybe they don’t come out quite the way you want or exactly the way you see your product. With my three simple tips I hope you’re on your way to creating better product photos for your business.
*Note: I offer one-on-one and small group product photography workshops. Details and schedules are available here.
